
|
Ningbo MIC Lighting Co.,Ltd.
|

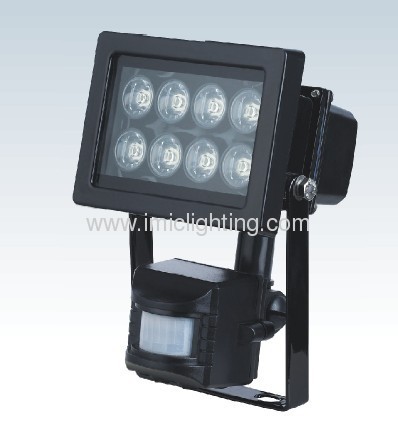
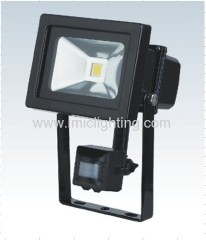
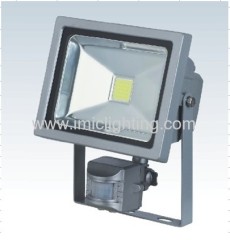
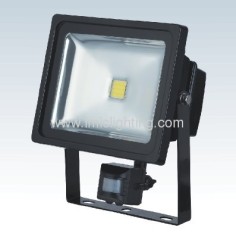
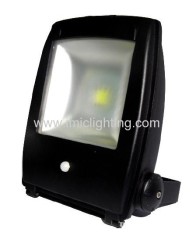
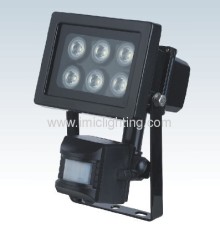
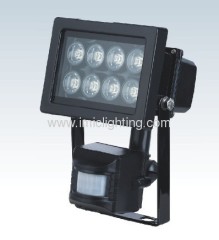
8W (8x1W) High Power LED Flood Light with PIR Motion Sensor
| Payment Terms: | T/T,L/C |
| Place of Origin: | Zhejiang, China (Mainland) |
|
|
|
| Add to My Favorites | |
| HiSupplier Escrow |
Product Detail
1. Power: 8W
2. LED Qty: 8pcs
3. Lumen: 75-150LM/W
4. IP44, CE/ROHS
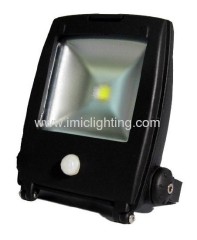
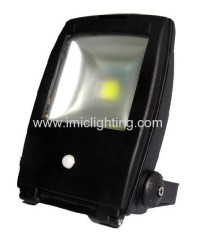
Description of 8W(8x1W) High Power LED PIR Motion Sensor Outdoor Floodlight Spotlight AC 85 ~ 265V Cool White
Model: MIC-140A-8x1W
Power: 8W
Lumen: 75-150LM/W
Beam angle: 15~60°
Product name 8W(8x1W) High Power LED PIR Motion Sensor Outdoor Floodlight Spotlight AC 85 ~ 265V Cool White
Specification of 8W(8x1W) High Power LED PIR Motion Sensor Outdoor Floodlight Spotlight AC 85 ~ 265V Cool White
Packing information
LED Flood Light irradiation distance table
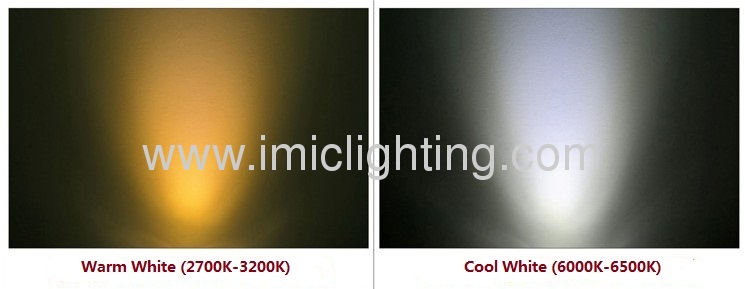
Color temperature---2700K-3200K, 6000K-6500K
Area of USE
1. Ambient temperature: The work temperature is -20℃~55℃.
2. Application: Tunnel, gasstation,airport,largestore,billboard,railway station, public areas,industrialzone,indoor parking places etc lighting.
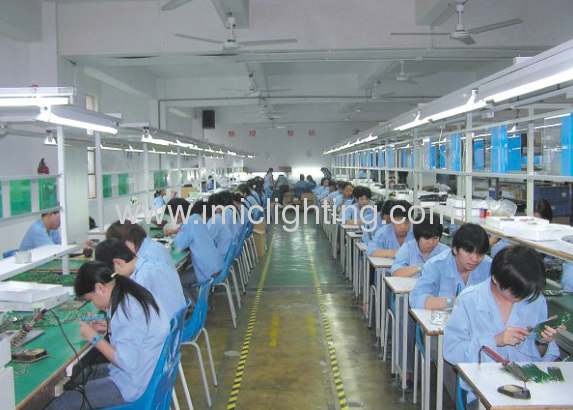
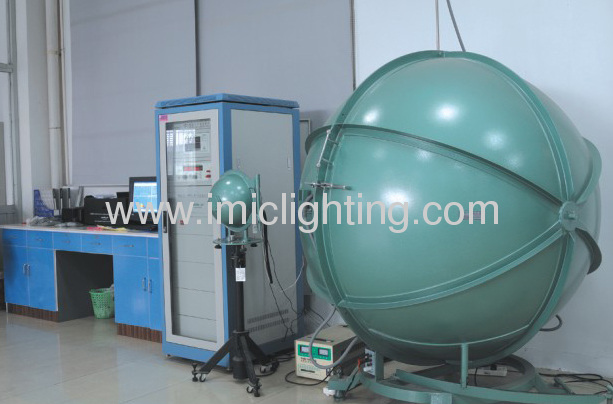
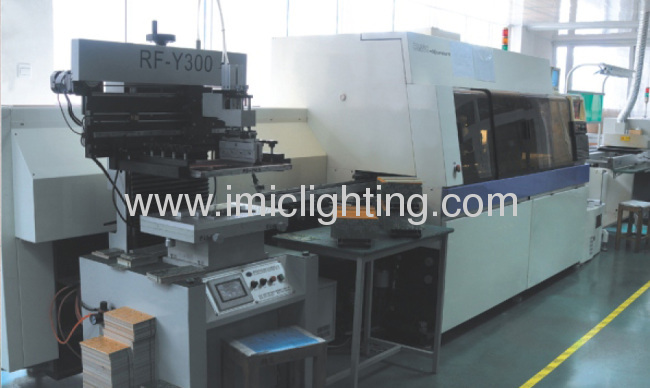
Our workshop
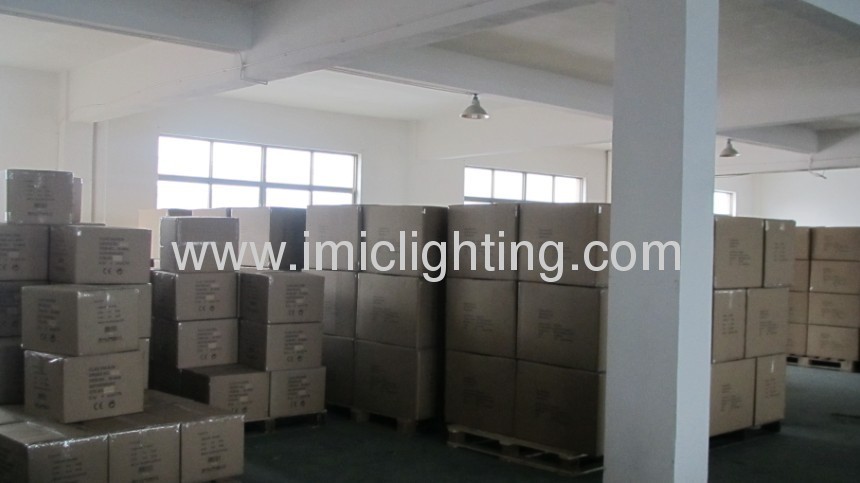
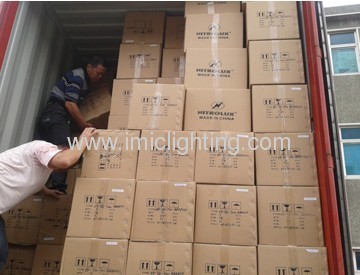
Shipment (Container loading)

Our Service
Why Us

Our products are good quality with competitive price. If you want moredetails and relative problems, pls no hesitance to contact with us, wewill reply you asap. Waiting for your inquiry!
Model: MIC-140A-8x1W
Power: 8W
Lumen: 75-150LM/W
Beam angle: 15~60°
Product name 8W(8x1W) High Power LED PIR Motion Sensor Outdoor Floodlight Spotlight AC 85 ~ 265V Cool White
Sensor LED FLOOD light feature:
1. No UV or IR in the spectrum.
2. Energy-saving, Environment friendly, and only 20% power consumption of halogen lamp and incandescent lamp.
3. Aluminum lamp housing for superior heat dissipation.
4. Particularly designed constant current driver for open orshort circuit protection.
Sensor LED FLOOD light aplication:
1. Replacement halogen lamps, especially for inside or outside project.
1. Replacement halogen lamps, especially for inside or outside project.
2. Application: billboards, streets, tunnels, park..gardens,factories, and wall washing.
3. High-brightness
4. High efficiency of heat sinking
Specification of 8W(8x1W) High Power LED PIR Motion Sensor Outdoor Floodlight Spotlight AC 85 ~ 265V Cool White
| Light Source (LED Chip): | Cree, Epistar, Bridgelux for choice |
| Input Voltage: | AC 85-265V |
| Frequency range: | 50-60Hz |
| Power: | 8W |
| LED Qty: | 8PCS (1pc=1W) |
| Lumens: | 75-150LM/W |
| Color of LED: | Red, Green, Blue, Yellow, White |
| White color temperature: | 2700-6500K |
| Housing Material / Cover glass: | Die-casting Aluminium / Tempered glass |
| Beam Angle: | 15~60° |
| IP grade: | IP65 |
| Product size: | 115x270x160mm |
| LED working life span: | >50000H |
| Certificate: | CE. ROHS |
| Warranty: | 2 Years |
Packing information
| Power | PCS/CTN | Carton size | N.W./G.W. |
| 8W | 16pcs | 49.5x34x27.5cm | 9.5 / 11.5kgs |
LED Flood Light irradiation distance table
| Power | The best irradiation distance (M) | Acceptable irradiation distance (M) | The irradiated area |
| 10W | 1 | 2-3 | 2m2 |
| 20W | 2 | 3-4 | 4m2 |
| 30W | 3 | 5-6 | 6m2 |
| 50W | 5 | 7-8 | 8m2 |
| 70W | 7 | 8-9 | 10m2 |
| 80W | 8 | 9-10 | 12m2 |
| 100W | 10 | 10-12 | 14m2 |
Color temperature---2700K-3200K, 6000K-6500K
Warning: Ensure Electricity is switched off at mains before installed replacement of bulb or servicing.
Please read through all following instructions before attempting toinstall the unit. If in any doubt about correct installation,pleaseconsult a qualified electrician.INSTALLATION AND STANDARD WIRING INSTRUCTIONS
Warning:
1. The floodlight must be earthed
2. Before touching the floodlight, please switch off and allow it to cool
3. In the event of damage the safety shield, must be replaced immediately---with tempered glass
4. Please note the warning mark (label) on the floodlight
1. Do not mount on a surface prone to vibrations.
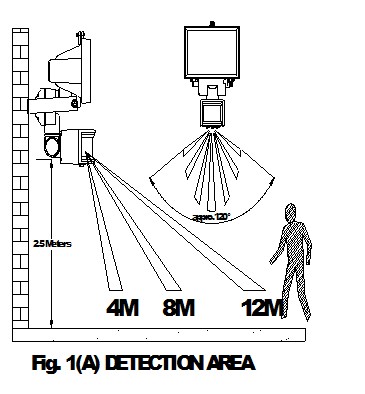
2. Mounting position: The floodlight should ideally be fixed with the wall fixing bracket.(see fig.1)
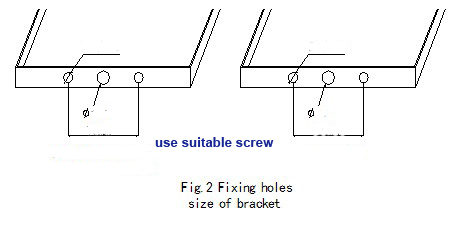
3. Mark the bole positions for fixing bracket onto the wall. Drill andplug the wall at the marked positions. Screw the fixing bracket to thewall with suitable screw(not supplied).(see fig.2)4. Unscrew the junction box cover and remove diffuser and rubber seal.
5. Put your mains cable (H05RN-F 3G1.0mm2,not included) into thejunction box through the plastic stud and rubber gasket Ensure that theplastic stud is sufficiently tight.
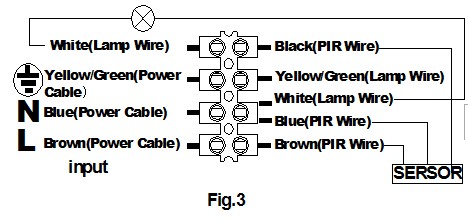
6. Connect the mains wires.(see fig.3)
7. Replace the junction cover. Take care not to lose the rubber gasket on the cover.
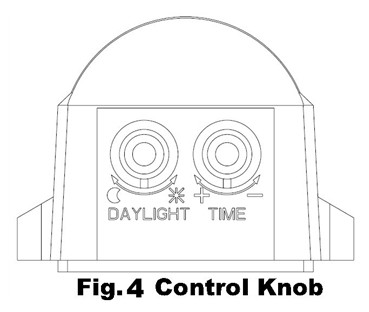
8. Mount the unit to the wall fixing bracket by replacing the twobolts. Adjust the floodlight to desired position and tighten the twobolts.UNDERSTANDING THE CONTROLS (referring to the Fig.4)
ADJUSTING THE DURATION TIME: The length oftime that remains switched on after activation can be adjusted from(10±5) seconds to (4±1) minutes. Rotating the TIME knob from (+) to (-)will reduce the duration time.
Note: Once the light has been triggered by the PIR sensor any subsequentdetection will start the timed period again from the beginning.
Note: Once the light has been triggered by the PIR sensor any subsequentdetection will start the timed period again from the beginning.
ADJUSTING THE DAYLIGHT CONTROL LEVEL: TheDAYLIGHT control module has a built-in sensing device (photocell) thatdetects daylight and darkness. Rotating the DAYLIGHT knob clockwise isfrom light (ï) to dark (‚). The (ï) position denotes that theFloodlights can work at day and night, and the (‚) position only work atnight. You can set to operate the unit at the desired level byadjusting the DAYLIGHT knob.
SETTING THE CONTROLS
SETTING THE CONTROLS
1. Put the DAYLIGHT control knob to light(ï) position, turn the wall switch on and wait half a minute for thecontrol circuit to stabilize.
At this stage ensure that the TIME controlknob is set at minimum duration time (-) position (Rotating the TIMEknob clockwise to stop-position). The floodlight will now switch on andremain on for about 30 seconds (within 60 seconds).
2. Direct the sensor toward the desired area to be scanned by adjusting the swivel joint on the sensor arm.
Important: loosen the lock nuts and screws on sensor and floodlight before making any adjustments.
3. Have another person move across thecenter of the area to be scanned and slowly adjust the angle of thesensor arm until the unit sensors the presence of the moving person,causing the floodlight to switch on.
4. Adjust time control to required setting.
5. To set the light level at which thefloodlight will automatically switch "on" at night, turn the DAYLIGHTcontrol knob from daylight(ï) to night (‚). If the floodlight arerequired to switch on earlier, e.g. Dusk, wait for the desired lightlevel, then slowly turn the DAYLIGHT control knob towards daylight whilesomeone walks across the center of the area to be detected. When thefloodlight switch on, release the DAYLIGHT control knob. You may need tomake further adjustments to achieve your ideal light level setting.Area of USE
1. Ambient temperature: The work temperature is -20℃~55℃.
2. Application: Tunnel, gasstation,airport,largestore,billboard,railway station, public areas,industrialzone,indoor parking places etc lighting.
Our workshop
Shipment (Container loading)
Our Service
1. Your inquiry will be replied in 24hrs.
2. Well-trained and experienced staffs to answer all your enquires in fluent English
3. The service of OEM&ODM
2. Well-trained and experienced staffs to answer all your enquires in fluent English
3. The service of OEM&ODM
4. Protection of your sales area, ideas of design and all your private information
5. The ability of monthly develop new product can help you enlarge your market.
Why Us
1. We always help customers' find economic transportation.
2. We always quote with reasonable prices ---- We do not promise lowest prices, but we promise competitive prices.
3. We always keep timely delivery for orders.
4. We are always strict in quality control.
Package
1. 1pc LED floodlight stick a rating label, with a manual, then into a inner box (white box or color box).
2. Several inner boxes into an outer carton (Standard export carton).
Shipment
1. Usually we shipped the goods to customers by sea or by air.
2. We will inform you about the shipment situation in the first time when the goods sent.
Payment
1. We accept T/T, L/C etc.
2. Price: Different quality with different price, welcome your inquiry.
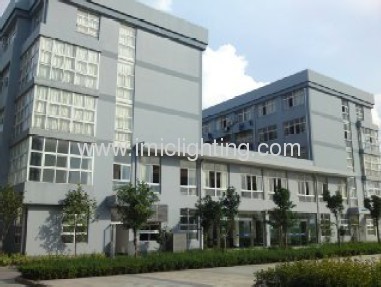
View photo of our factory:Package
1. 1pc LED floodlight stick a rating label, with a manual, then into a inner box (white box or color box).
2. Several inner boxes into an outer carton (Standard export carton).
Shipment
1. Usually we shipped the goods to customers by sea or by air.
2. We will inform you about the shipment situation in the first time when the goods sent.
Payment
1. We accept T/T, L/C etc.
2. Price: Different quality with different price, welcome your inquiry.
Our products are good quality with competitive price. If you want moredetails and relative problems, pls no hesitance to contact with us, wewill reply you asap. Waiting for your inquiry!
Didn't find what you're looking for?
Post Buying Lead or contact
HiSupplier Customer Service Center
for help!
Related Search
Pir Led Sensor Light
Pir Motion Sensor
Wall Pir Motion Sensor
High Power LED Light
Led High Power Light
Motion Sensor Light
More>>
Find more related products in following catalogs on Hisupplier.com
Related Products

Company Info
Ningbo MIC Lighting Co.,Ltd. [China (Mainland)]
Business Type:Manufacturer, Trading Company
City: Ningbo
Province/State: Zhejiang
Country/Region: China (Mainland)
You May Like:
Product (207)
- LED Flood Lights (71)
- LED Bulkhead Light (8)
- LED High Bay Lights (9)
- LED Street Light (8)
- LED Gas Station Light (3)
- LED Work Light (2)
- LED Ceiling lights (16)
- LED Panel Light (4)
-
LED Corn bulb lights
(4)

- E27/GU10/MR16 LED Lamps (17)
- LED Bulbs (25)
- LED Cabinet Light (4)
- Others (36)
